
The ladies in my Paper Crafting Workshop decided they would like to enter a drawing that Michael’s is conducting… first prize: a trip to Paris, France! To participate one must create a project with Paris as the theme, anything from cakes to quilts! So, I searched out everything in my craft room that was Paris related and pulled together the bits for a tag.
Being a great believer in using what I have whenever possible… and dreading a fruitless search through our three local big-box craft stores (or online)… I decided we would make our own Paris-themed background paper.
(Somehow, whenever I go looking for something to match exactly what I see in my mind’s eye, it becomes an exercise in frustration. In most cases, when designing a new project, I either see a paper design that becomes my inspiration or I have to create the paper to go along with the inspiration I have within.)
Remember, if you click on a photo, you will get a larger image to see more detail.
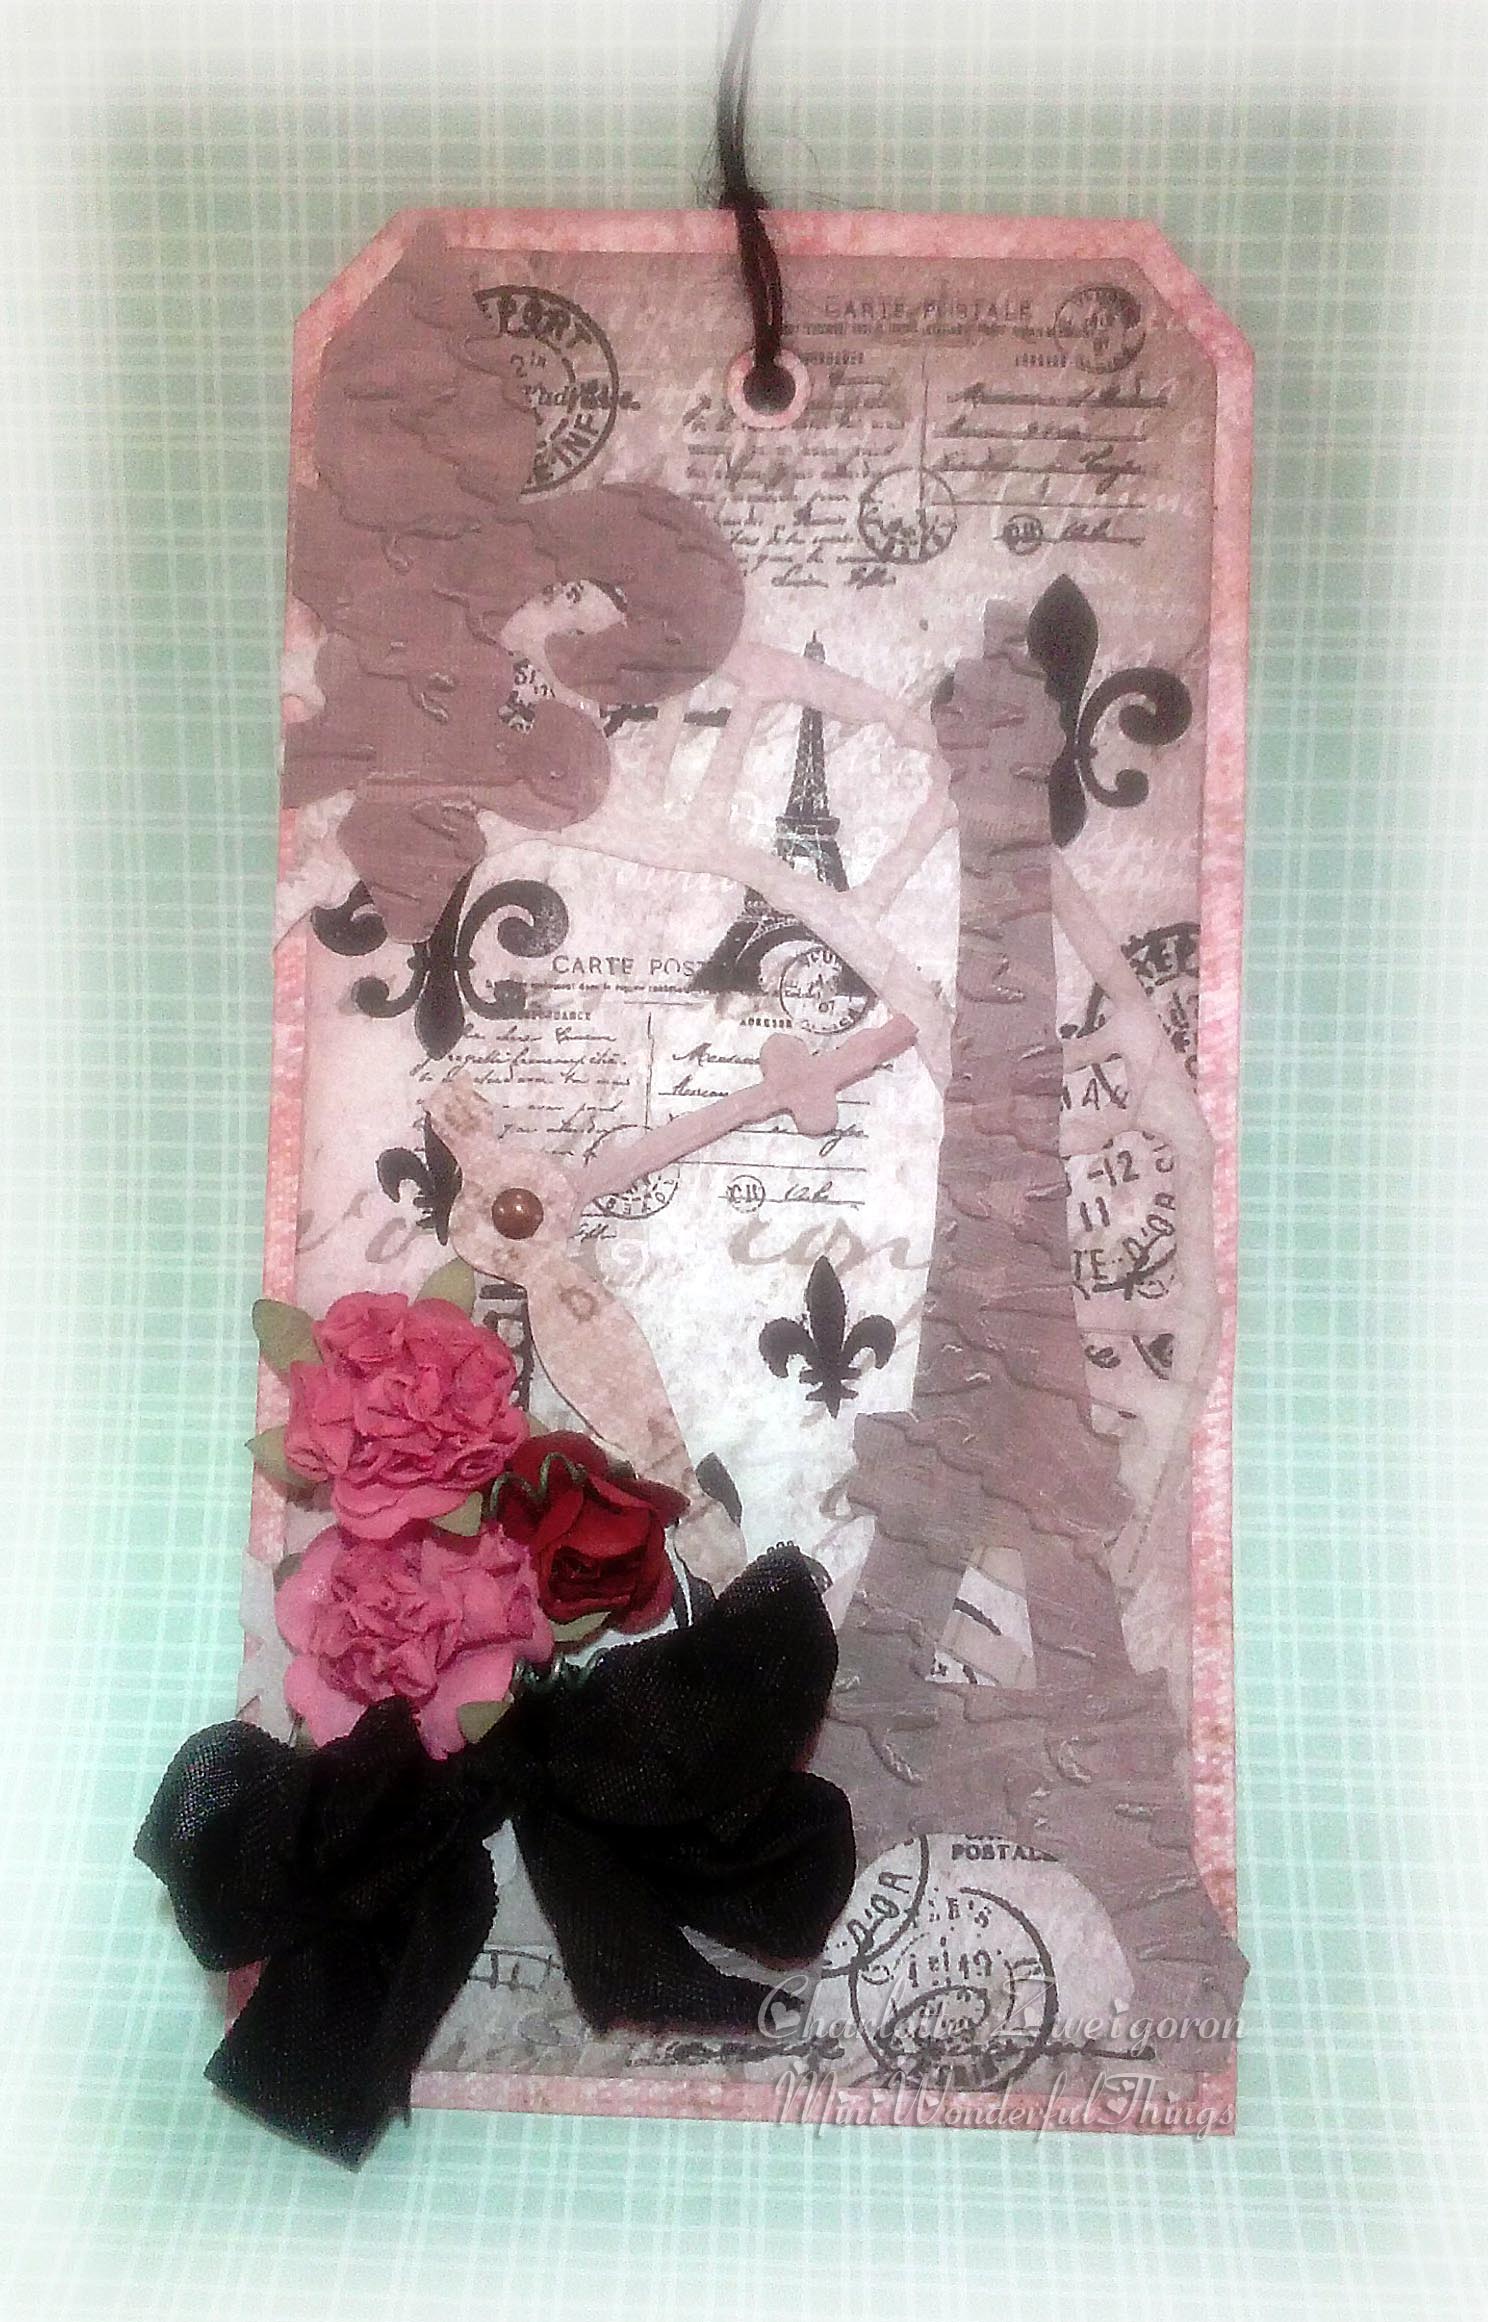
Making our own background paper is a great way to exercise our creative muscle, loosen up a bit and add a personal spark to each individual piece. Everyone has a different vision once the stamps are laid out for them to use or inks are spattered and manipulated. It’s like being a kid again!! Kindergarten 101!! I am showing here two tags I used as finished examples for the kits I made for class… one is lightly stamped, the other a bit more so.
Our inspirational elements were the Fleur de Lis & Eiffel Tower die and the Weathered Clock die from Tim Holtz Alterations, Victorian Velvet and Milled Lavender Distress Ink Pads, Stampendous “Charm Collection” clear stamp set and an Inkadinkado rubber stamp of French post marks. Other necessaries are listed below.
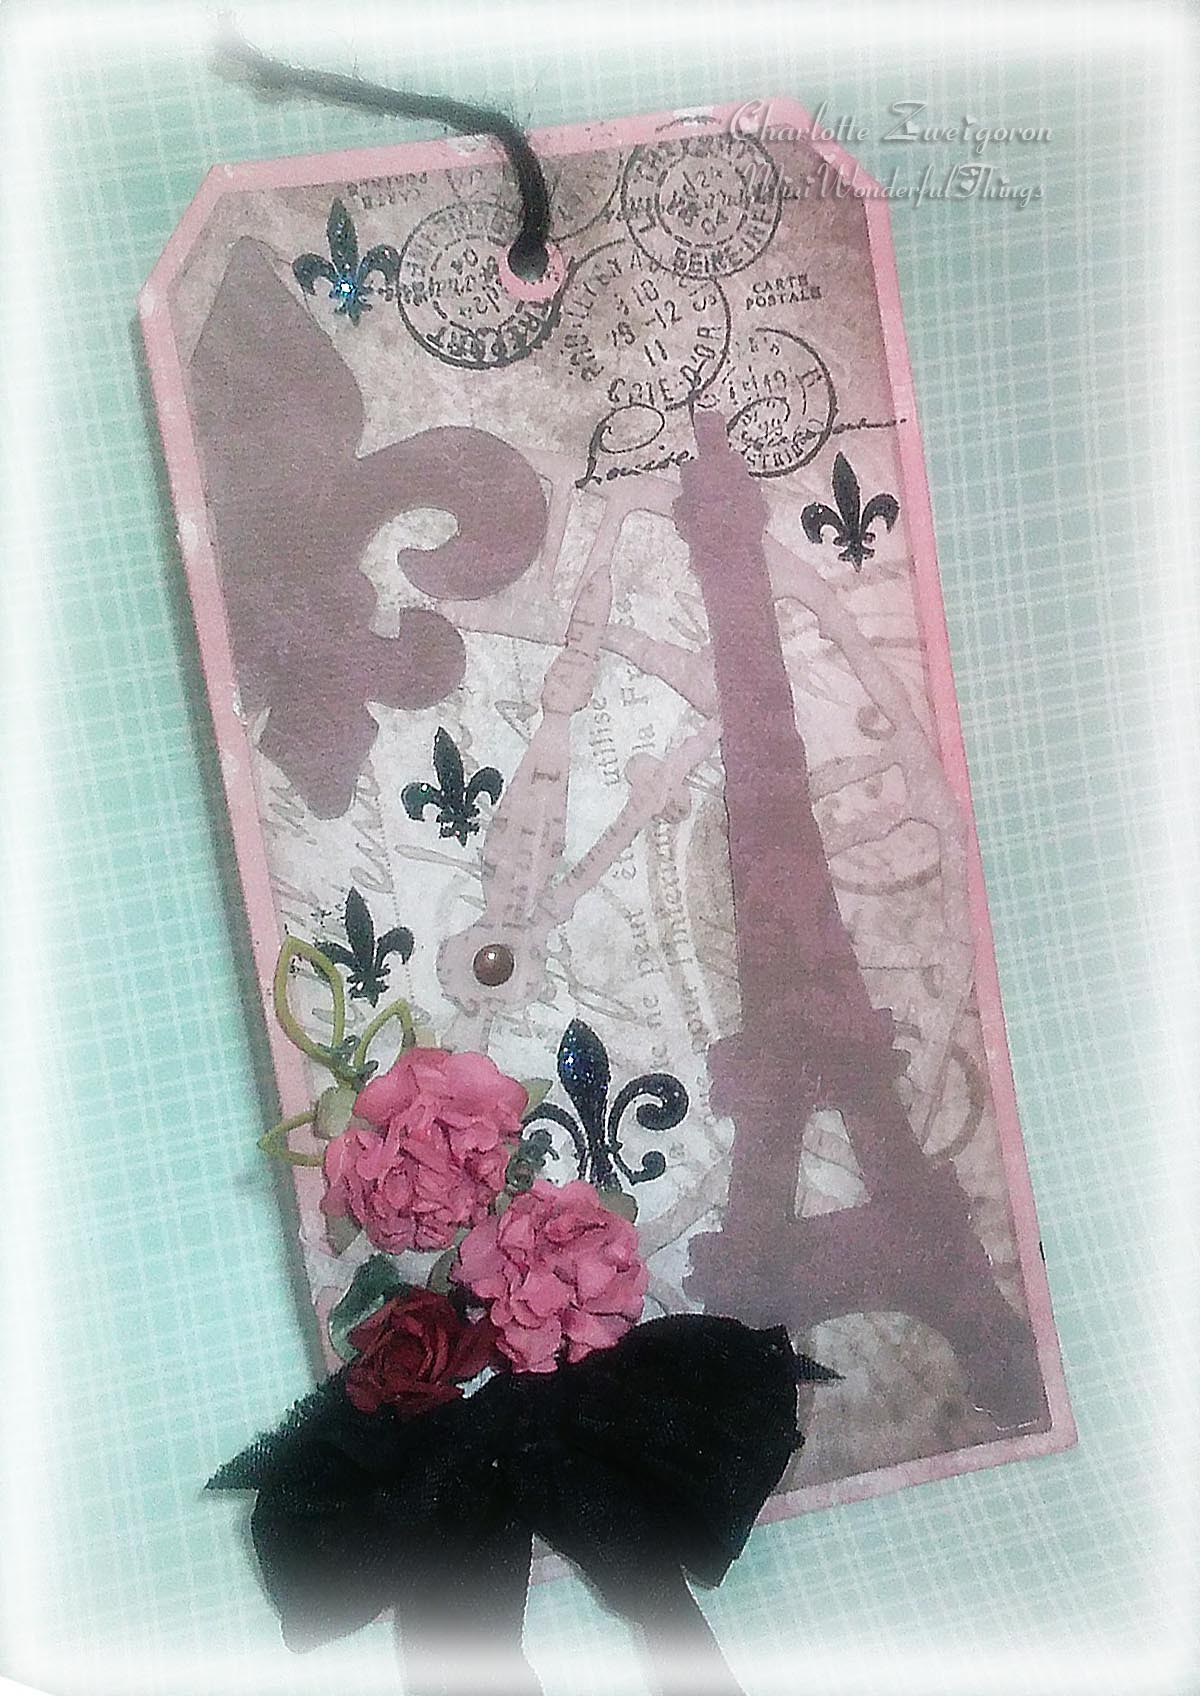
The basic tag (Advantus paper) was cut with the Tim Holtz Tag die and shaded around the edges with Milled Lavender; then stamped with a black ink pad. Clock hands & face (Advantus paper), Fleur de Lis and Eiffel Tower (Old World paper) were cut and inked around the edges with Milled Lavender before placement. Clock hands were attached with a brad.
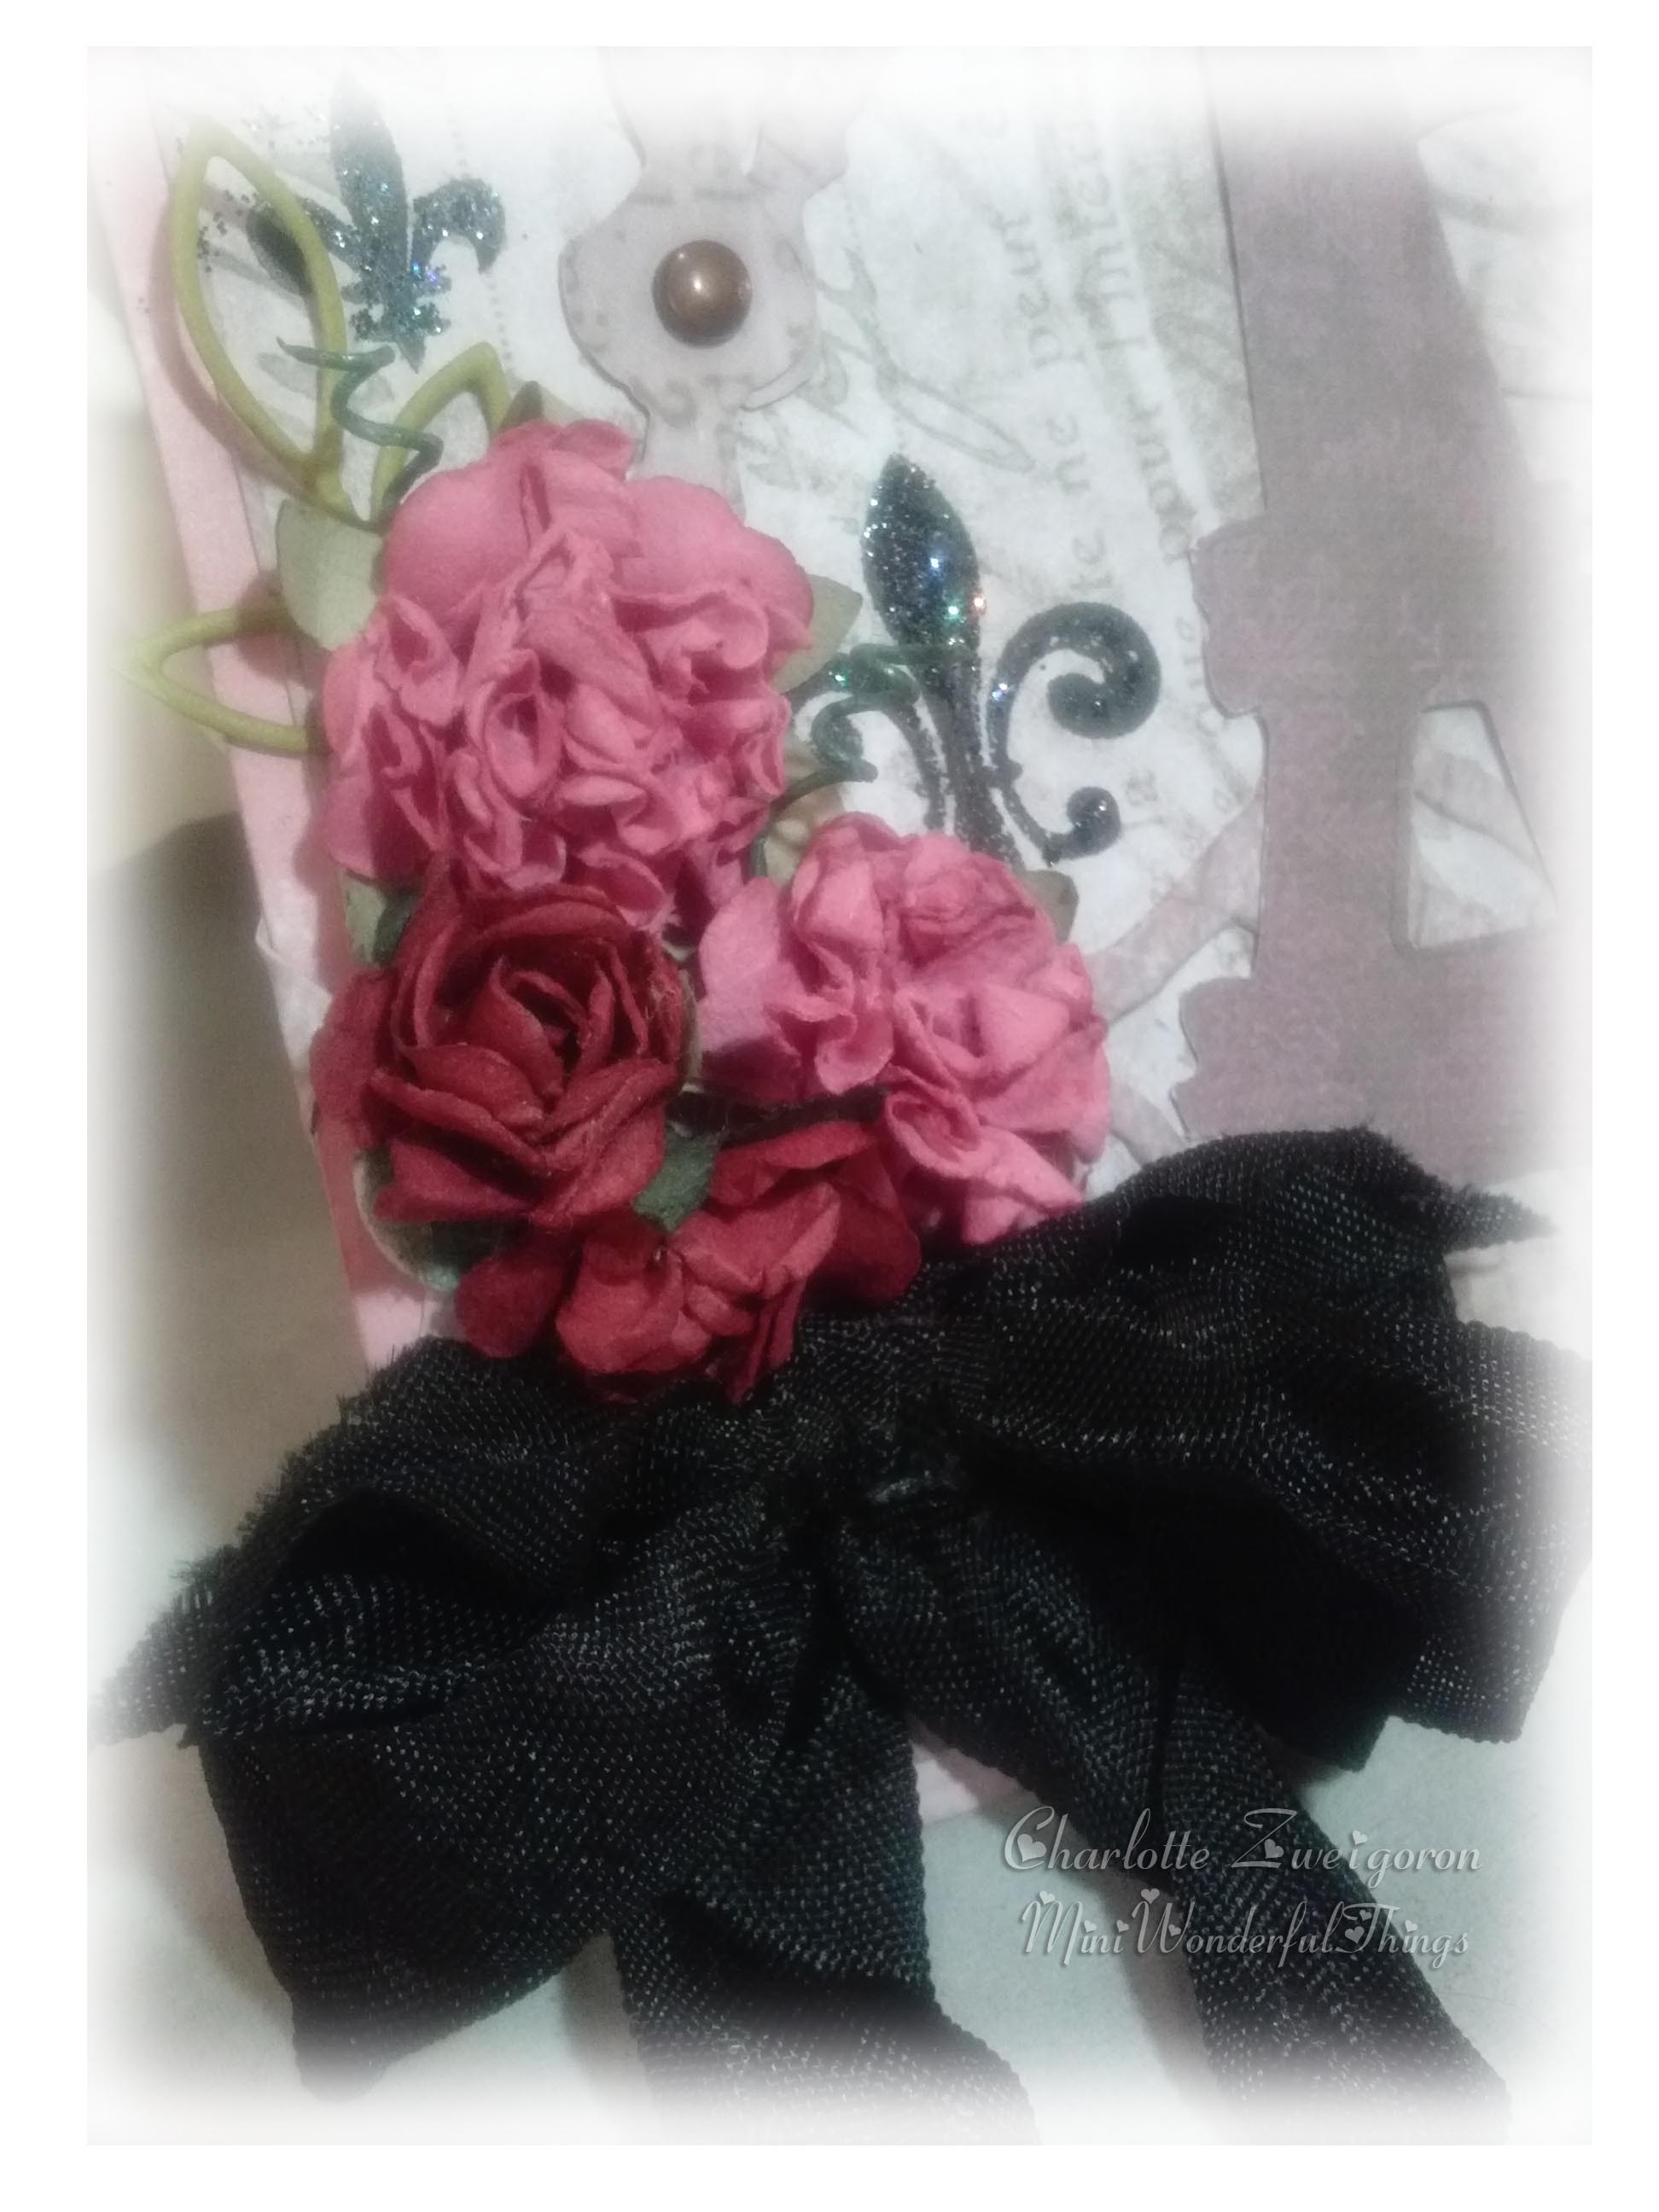
A larger piece of paper was glued to the back of the tag (concealing the arms of the brad and adding strength & dimension). This was trimmed to leave a 1/8 inch border around the tag, the edges of which were inked with Victorian Velvet. Flowers, bow and tag string were added and then Stickles were used to add some sparkle to various stamped images on the tag.
One of my new students asked what one does with a tag (!?)…
In case you are also wondering, these may be tied on to a gift or given much the same way a card is given. There are tag envelopes that can be purchased for mailing but I either tie mine to a gift or wrap it in tissue and tie with a ribbon.
My daughter likes them because she can hang them up on a push-pin as a little “love reminder”. I have made some inspirational ones that were totally flat so they could be used as a bookmark. No rules here… just imagination and creativity.
Wouldn’t it be fabulous if one of us won that trip to Paris!! Keep your fingers crossed for us… And, thank you for stopping by. Best wishes and hugs, ya’ll…
Other…DCWV Old World Mat Stack, Tim Holtz Idea-ology Advantus Paper Stash; Stazon Jet Black Ink Pad; flowers from Lavish Laces and The Paper Studio; hand-dyed “Snug Hug” rayon seam binding (a gift from Paper Sweeties) and string from Hobby Lobby; Brads from Michael’s (Recollections); Black Diamond Stickles.


.jpg)


You’re a winner in my book
Sent from my iPhone
>